Welcome to the second part of our little tutorial ^.^
In this part I’ll explain how the handler works and what you need in order for it to work…
The handler
The handler consists out of 2 things:
- An interface
- A class that extends the Attribute class
Add a new C# Class Library project and name it PluginHandler.
Delete the default class that gets created (Class1.cs)
The interface
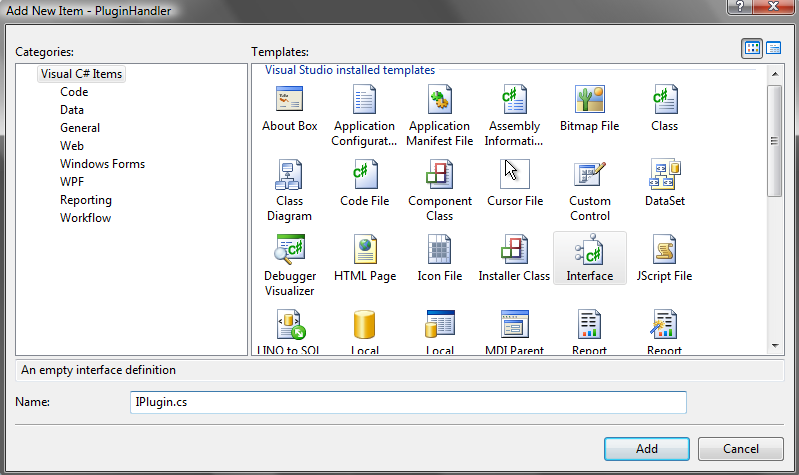
Add a new Interface named IPlugin (Add > New Item > Interface)

The reason we include the interface, is because any plugin you make must implement the interface and needs it in order to be shown.
Since this is just a basic explanation of how it works, I’m only going to show you what you need in order to load your plugin.
Interface source code:
// Plugin interface for the plugin handler
using System;

namespace PluginHandler
{
    public interface IPlugin
    {
        void ShowPlugin();
    }
}
The class
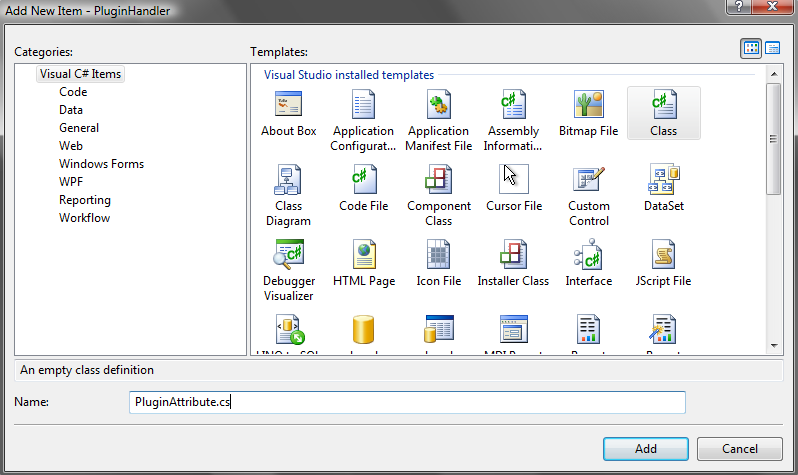
Now that we have our interface, we add a new class called PluginAttribute: (Add > New Item > Class)

Class source code:
// Plugin class that extends the attribute class
using System;

namespace PluginHandler
{
    [AttributeUsage(AttributeTargets.Class, AllowMultiple = false, Inherited = true)]
    public sealed class PluginAttribute : Attribute { }
}
Build
Now that we have added the 2 objects and modified their code, it’s time to build it.
Build > Build PluginHandler