Welcome to the third part of our little tutorial ^.^
In this part I’ll explain how the plugin works and what you need in order for it to work…
Plugin
Ok, we have our handler, now we can use it on our plugins and our application
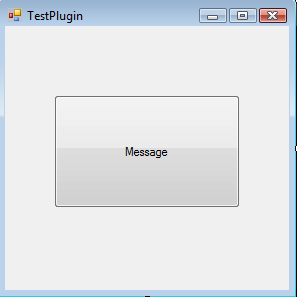
During this tutorial we’ll create a simple plugin which is a windows form with a button on it and when you press the button it will show you a messagebox.
Start off by adding a new C# Class Library project to the solution and call it TestPlugin (Add > New Project)
Delete the default class that gets created (Class1.cs)
* Note: Because we are working with a class library here it will be hard to debug the applications you are creating as plugins. A workaround could be to create a normal windows form project first, test it out and when it is working like you want it to work, move the files over to the class library project.
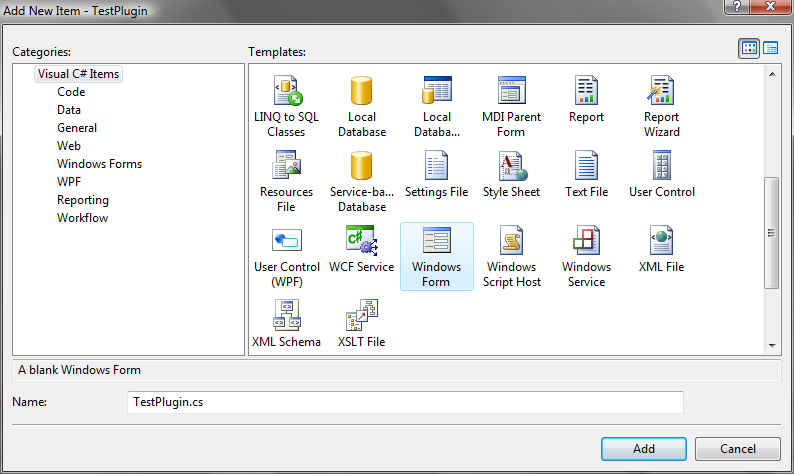
Add a new Windows Form and call it TestPlugin (Add > Windows Form)

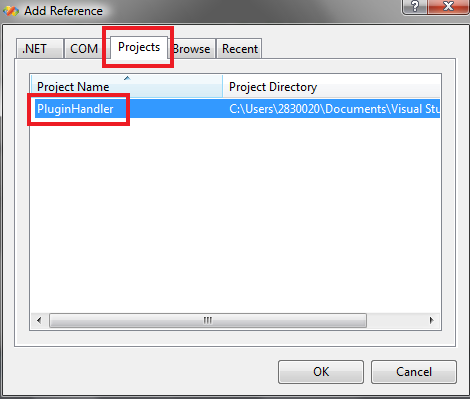
Next up is adding a reference to the PluginHandler project (Add Reference > Projects tab > PluginHandler)

Now that we have our reference to the handler, it’s time to implement it 😉
Open up the designer code view for the windows form (Double click the TestPlugin.designer.cs file) and add / change the following:
using PluginHandler;

namespace TestPlugin
{
    [PluginAttribute]
    partial class TestPlugin : IPlugin
    {
        ...
    }
}
Since we have implemented the IPlugin interface, we are forced to use all methods and properties from within the IPlugin interface.
Therefor, open the code view for the windows form (TestPlugin.cs) and add the following method:
public void ShowPlugin()
{
    this.Show();
}
Only thing left to do is add the button to the form and have it show a message box.
Drag a new button onto the form in the design view and call it btnMessage
Double click the button and add the following code:
private void btnMessage_Click(object sender, EventArgs e)
{
    MessageBox.Show("Bar", "Foo", MessageBoxButtons.OK, MessageBoxIcon.Information);
}
There we go, our plugin is done 🙂
